Reverse engineering
Nowadays, in our overhaul and repair services we apply the concept based on a process of remanufacturing of damaged parts using reverse engineering.
In order to implement this concept, our company has purchased over the past two years the following hardware and software:
- A 2.5 m FARO Quantum-S measuring arm
- HWACHEON Hi-Tech 550 BL MC Horizontal Turning Center (CNC)
- BPF 1520 milling plotter (CNC) by KIMLA.
- VM 3500 milling machine (CNC)
- Geomagic Qualify and Geomagic Blade software
- Pro/Engineer software
- 55100 OMAX Jet Machining System.
The process of remanufacturing a damaged machine part using our own reverse engineering concept can be presented as follows:
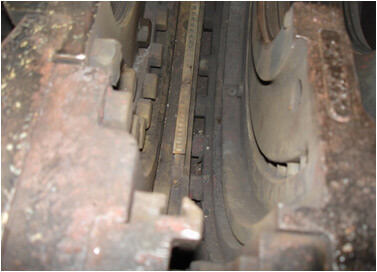
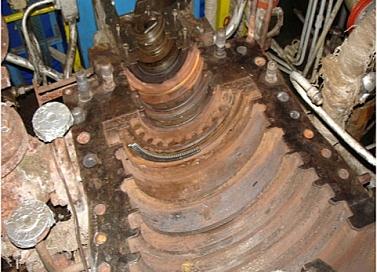
Removal of damaged parts from the machine, cleaning, inquiring for the cause of damage, carrying out photographic documentation.
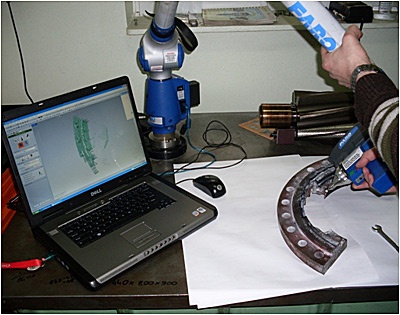
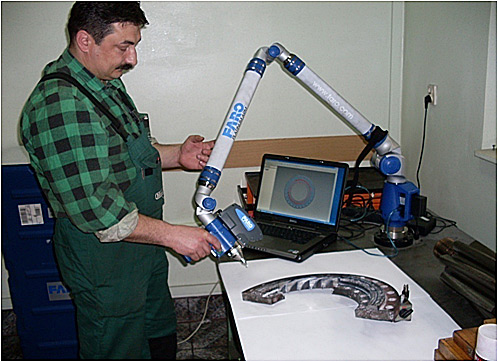
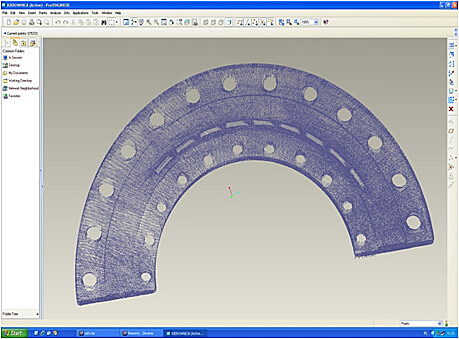
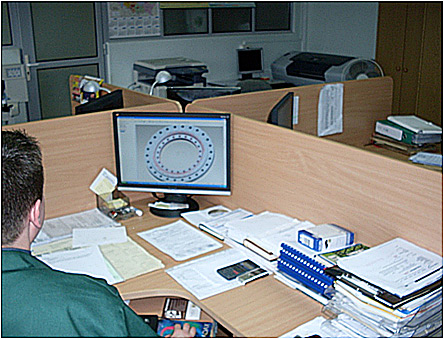
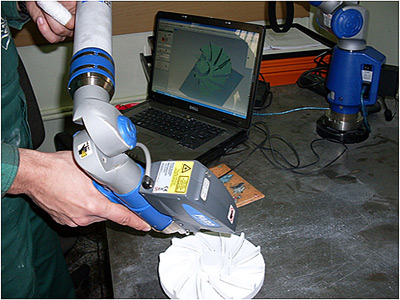
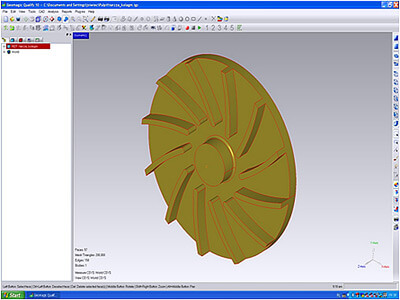
Scanning a part disassembled from a machine.
Using the 2.4-m Platinum FARO ARM Platinum and the Laser Line Probe V.2 scanner mounted on it, we can scan even the most complex surfaces without touching them. A laser probe emits a beam of laser light from a slit at the front of the housing to the selected object by scanning at 19200 pts./s at an accuracy of 50 microns.
Thus, we obtain a cloud of scanned points which we record using the Geomagic Qualify software.
Creating a 3D model.
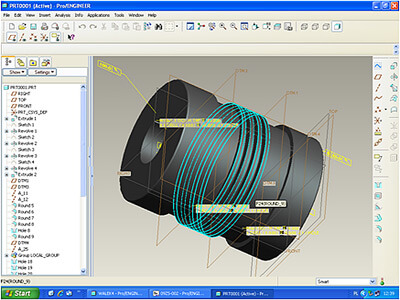
The file obtained by scanning, in form of a cloud of points, should be processed in order to create a 3D model. This is done using the program Pro / Engineer, supplied by U.S. company PTC (Parametric Technology Corporation, PMTC). Pro / Engineer is a fully integrated parametric CAD / CAM / CAE system. Its modular structure allows it to fit specific applications. Since its first version, the program is associative and parametric: both CAM machining and CAE calculations take place in the same environment as CAD design, which avoids the problem of data translation between the programs and facilitates the use of the program thanks to the single user interface provided.
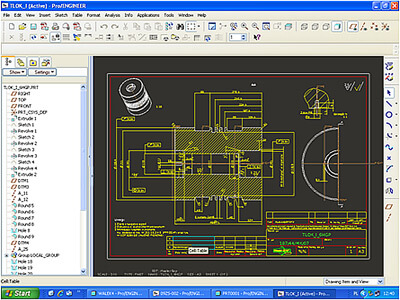
Creating technical documentation: model + executive drawing.
CAD (Computer Aided Design)
Pro / ENGINEER also allows you to create a model without scanning.
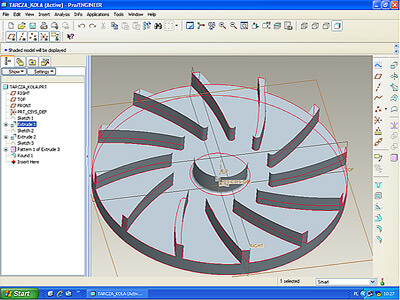
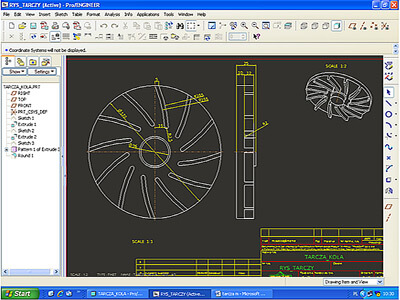
The following pictures show designed models and executive drawings generated on their basis.
Creating documentation for a CNC machine (Computerized Numerical Control).
CAM documentation ( Computer Aided Manufacturing)
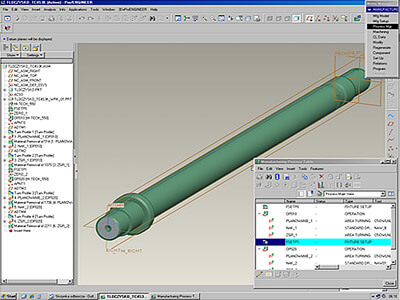
Using Pro / ENGINEER, we select tools for machining and processing parameters, and then generate tool paths.
Pro / ENGINEER allows you to simulate the paths of the cutting tool.

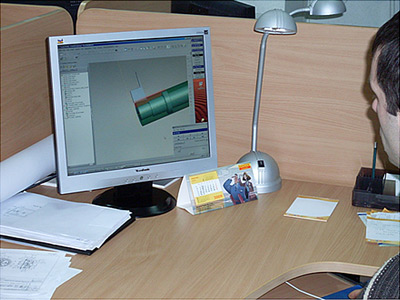
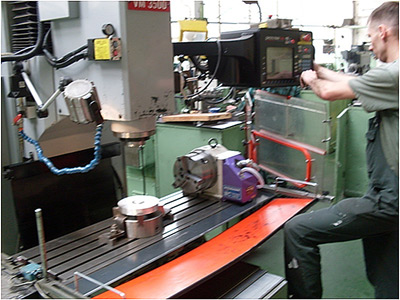
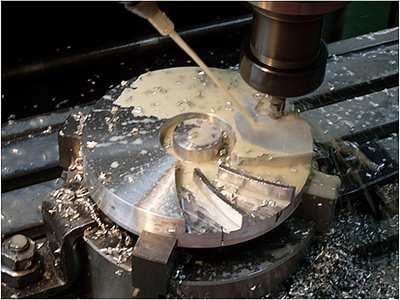
After sending a CAM program to the CNC machine, the operator attaches the material, sets the tools, sets the parameters, checks the settings of the machine and proceeds to machining.
Verification scanning of a newly-made part.
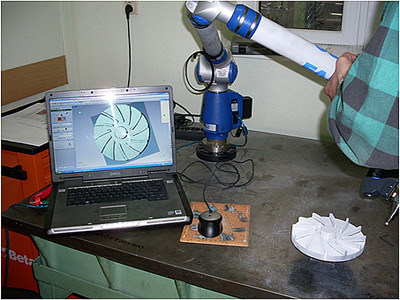
After the manufacture of a part, we carry out scanning and make comparative analysis of the model as designed and the part as manufactured, using Geomagic Qualify.
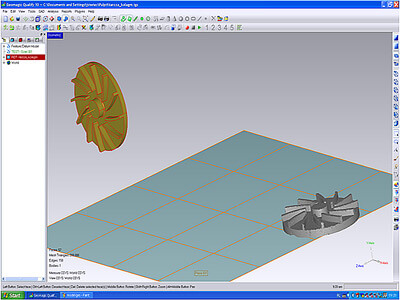
The resulting cloud of points is processed by the program Geomagic Qualify. The model is saved as a “reference” and the scan as a “test”. Then a comparison is made between the model and the part.
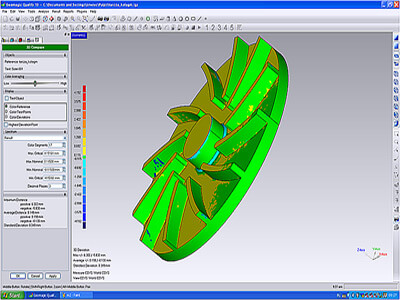
A scan of a part has been superimposed on a model. We obtain an image of deviations in a graphical and tabular form. On the left, there is a table where you can set deviation value to receive a color distribution of deviations.
- Green – correct execution, within the tolerance limits set.
- “Warm” colors from the green upwards: positive tolerances.
- “Cool” colors from the green downwards: negative tolerances.
For presentation purposes, a radius of 2mm on a 36mm diameter was machined, and we have obtained a picture in form of a blue bar.
Installation of a newly-made part in the machine and putting the machine into operation.


